官方教程链接:http://www.espruino.com/Pico+Wire+Loop+Game
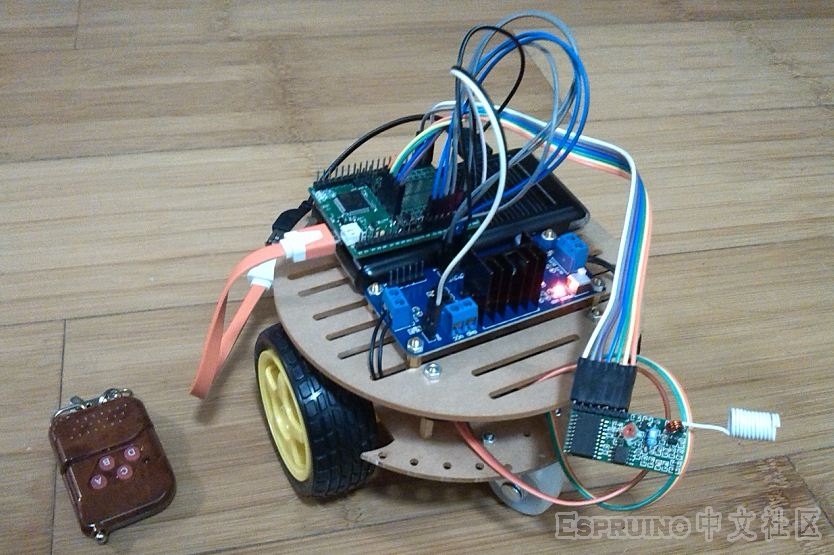
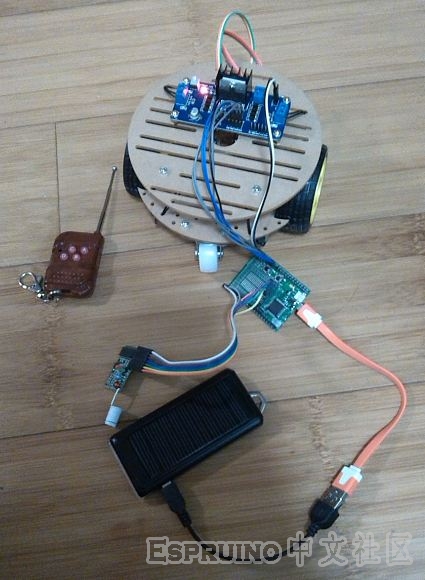
所需材料
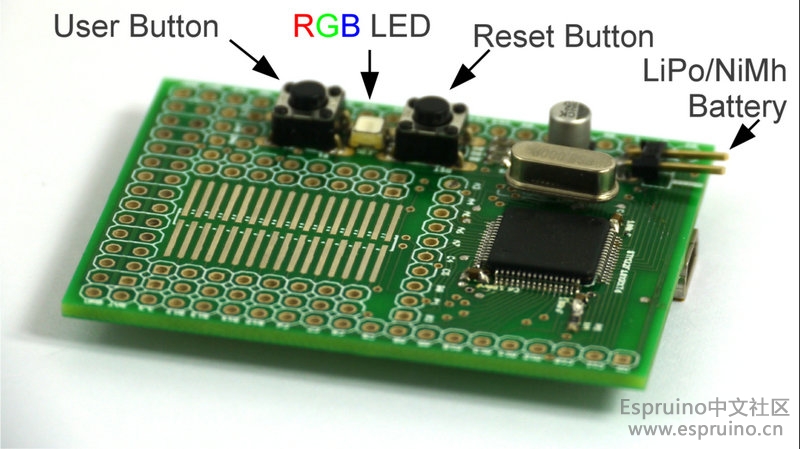
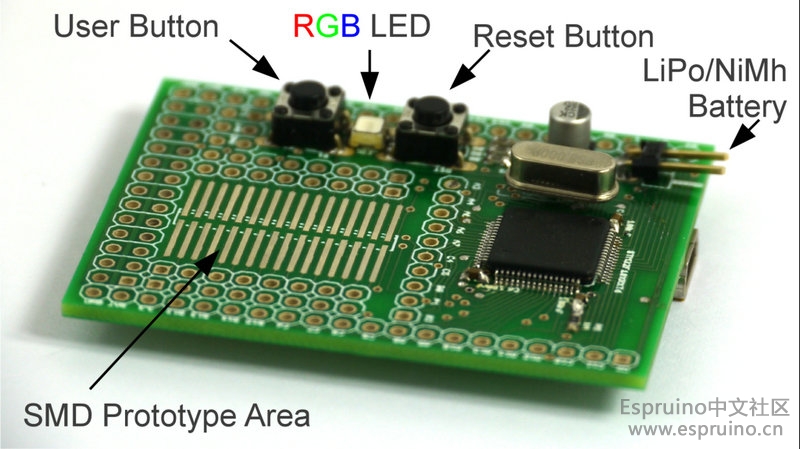
1. Espruino开发板一个
2. Nokia 5110 LCD一个
3. 蜂鸣器一个
4. 面包板一个
5. 按钮开关一个
6. 直径0.6mm的实心导线1米左右
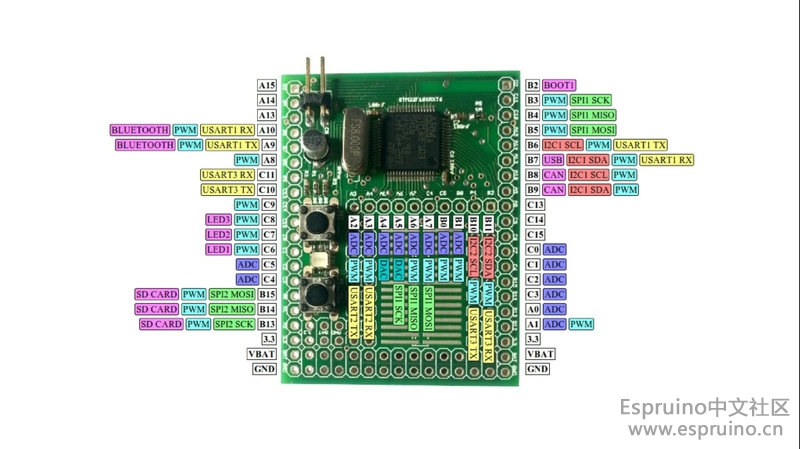
LCD接线方法:
| LCD pin | Pin type | Espruino Board |
| GND | GND | GND |
| LIGHT | Any | A0 |
| VCC | 3.3v | A1 |
| CLK | SPI SCK | B3 |
| DIN | SPI MOSI | B5 |
| DC | Any | B6 |
| CE | Any | B7 |
| RST | Any | B8 |
其他部分接线方法请参考代码。
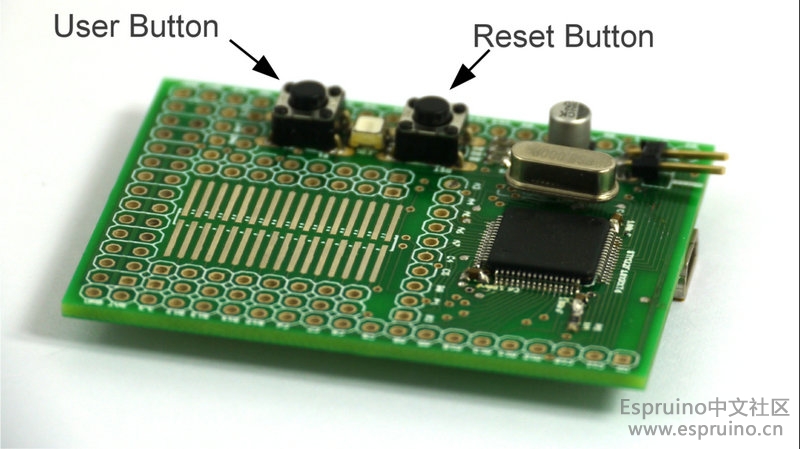
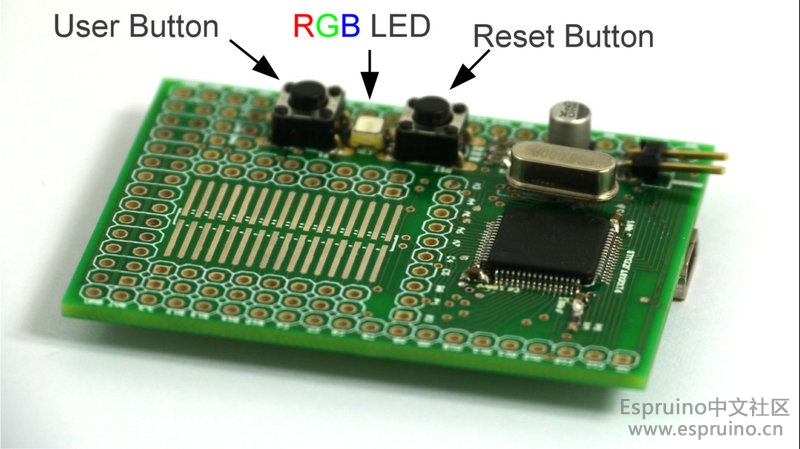
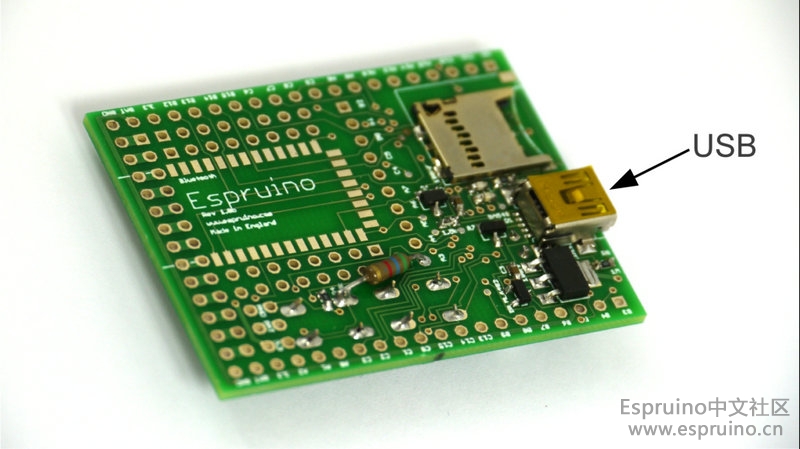
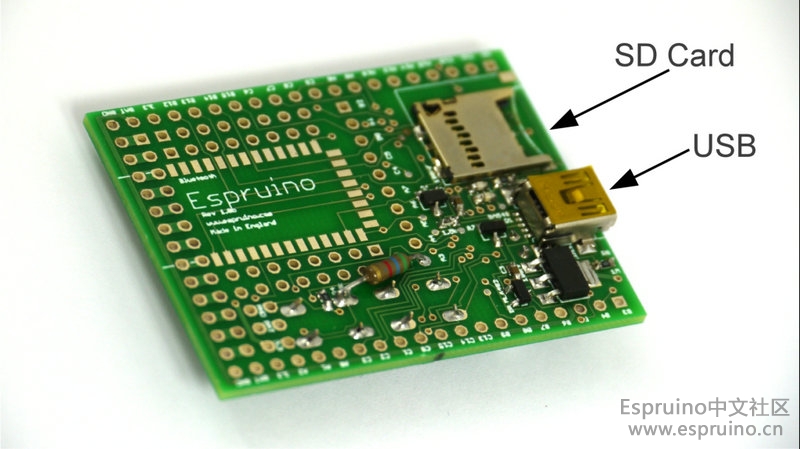
因为官方用的是Espruino Pico,我用的是Espruino Board,所以接线略有不同,另外我的这个LCD没法直接使用官方的库,我就把LCD的初始化代码放在onInit函数里了。
A0.write(1); // LCD Light
A1.write(1); // LCD VCC
var LOOP = C0; // the pin we've got our loop attached to
var SPEAKER = B9; // where the speaker is attached
var BTN_RST = C1; // where the Reset button is attached
var g; // the LCD's graphics
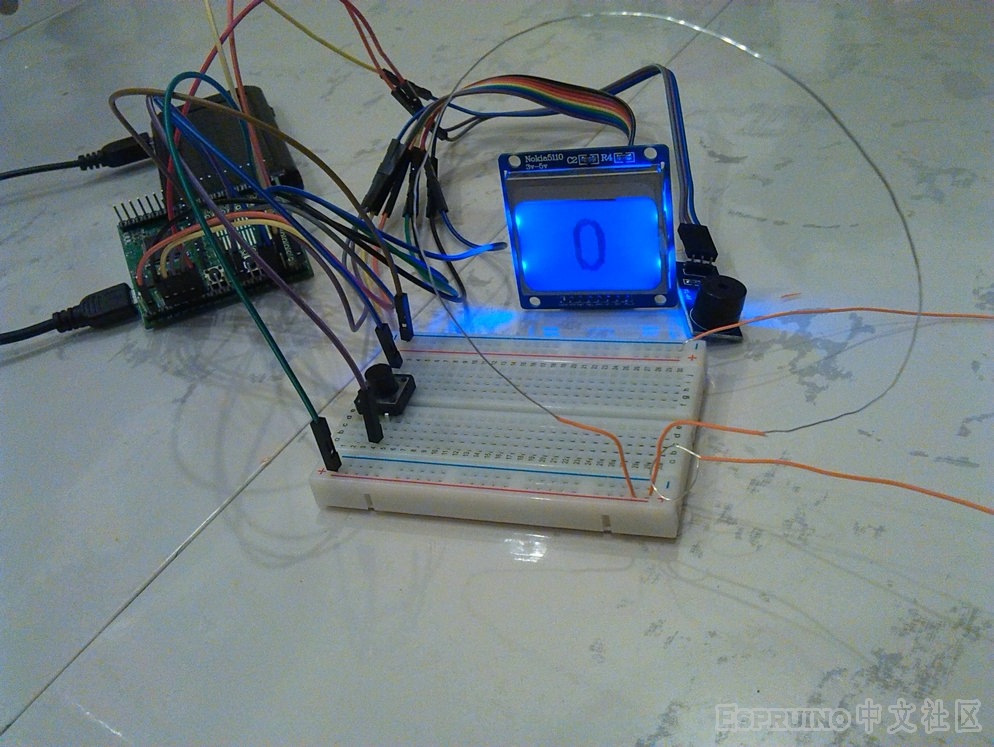
var score = 0; // current score
function drawScore() {
g.clear();
// draw the score
g.setFontVector(40);
g.drawString(score,(g.getWidth()-g.stringWidth(score))/2,0);
// send the graphics to the display
g.flip();
}
// flash and make a sound, and call the callback when done
function hasHit(callback) {
// increment the score...
score++;
var i = 1;
// This will make the beeping and flashing
function siren() {
if (i>7) {
clearInterval(interval);
digitalWrite(LED1, 0); // turn the LED off
// set normal colours on LCD
g.setColor(1);
g.setBgColor(0);
// turn the sound off
digitalRead(SPEAKER);
callback();
return;
}
// every other time around the loop:
if (i&1) {
digitalWrite(LED1, 1); // turn red LED on
// set inverted colours on LCD
g.setColor(0);
g.setBgColor(1);
// beep high frequency
analogWrite(SPEAKER, 0.5, {freq:1000});
} else {
digitalWrite(LED1, 0); // turn the LED off
// set normal colours on LCD
g.setColor(1);
g.setBgColor(0);
// beep low frequency
analogWrite(SPEAKER, 0.5, {freq:700});
}
// draw the text 'hit' on the LCD
g.clear();
g.setFontVector(40);
g.drawString("Hit!",(g.getWidth()-g.stringWidth("Hit!"))/2,0);
g.flip();
i++;
}
// call the siren function every so often (and call it once immediately)
var interval = setInterval(siren, 300);
siren();
}
function onInit() {
// Setup SPI for LCD
SPI1.setup({ baud: 1000000, sck:B3, mosi:B5 });
g = Graphics.createArrayBuffer(84,48,1,{vertical_byte:true});
var spi = SPI1;
var dc = B6;
var ce = B7;
var rst = B8;
digitalPulse(rst, 0, 10); // pulse reset low
setTimeout(function() {
digitalWrite(dc,0); // cmd
spi.send(
[0x21, // fnset extended
0x80 | 0x25, // setvop (experiment with 2nd val to get the right contrast)
0x14, // setbias 4
0x04 | 0x02, // temp control
0x20, // fnset normal
0x08 | 0x04], ce); // dispctl normal
}, 100);
g.flip = function () {
for (var i=0;i<6;i++) {
digitalWrite(dc,0); // cmd
spi.send(0x40|i, ce); // Y addr
spi.send(0x80, ce); // X addr
digitalWrite(dc,1); // data
spi.send(new Uint8Array(g.buffer,i*84,84), ce);
}
};
drawScore();
startWatchingLoop();
}
// Add the internal pull-up resistor to the loop, so when it touches the wire (which is GND) it'll get pulled down
pinMode(LOOP, "input_pullup");
pinMode(BTN_RST, "input_pulldown");
// This code watches the 'loop' to see if it has touched the wire
var loopWatch;
function startWatchingLoop() {
// first, ensure we don't start watching the wire loop twice
if (loopWatch) clearWatch(loopWatch);
loopWatch = setWatch(function() {
loopWatch = undefined;
// now if we've touched, flash everything and make noises
hasHit(function() {
// When that's done, draw the score and start watching the loop again
drawScore();
startWatchingLoop();
});
}, LOOP, { repeat: false, edge: "falling" });
}
// When button is pressed, reset the game:
setWatch(function() {
clearInterval();
digitalRead(SPEAKER); // make sure speaker is off
score = 0;
drawScore();
startWatchingLoop();
}, BTN_RST, { repeat: true, edge: "rising", debounce: 50 });
// Finally, start everything going
onInit();在Web IDE中将这些代码上传至Espruino之后,然后在Web IDE左边的console中执行一下save()函数就可以把这些代码烧录到espruino了~